Mastering the Art of Styling Natural Hair with a Curl Sponge: Your Step Guide
Introduction: The curl sponge, also known as a twist sponge or hair sponge, is a game-changer for those with natural hair seeking defined curls and coils without the use of styling products or heat. If you’re new to using a curl sponge or looking to perfect your technique, this step-by-step guide will walk you through everything you need to know to achieve flawless curls and coils with ease.
- Step 1: Prepare Your Hair Start by washing and conditioning your hair to remove any product buildup and ensure it’s clean and hydrated. Towel dry your hair until it’s damp but not dripping wet, as this will help the sponge to grip the hair better during the styling process.
- Step 2: Choose Your Sponge Select a curl sponge with the right density and hole size for your hair texture and desired curl pattern. Larger holes are ideal for creating looser curls, while smaller holes are better suited for tighter coils. Experiment with different sponges to find the one that works best for you.
- Step 3: Apply a Styling Cream or Gel (Optional) If you prefer extra hold or definition, you can apply a styling cream or gel to your damp hair before using the sponge. This will help to enhance curl definition and reduce frizz, resulting in more polished-looking curls.
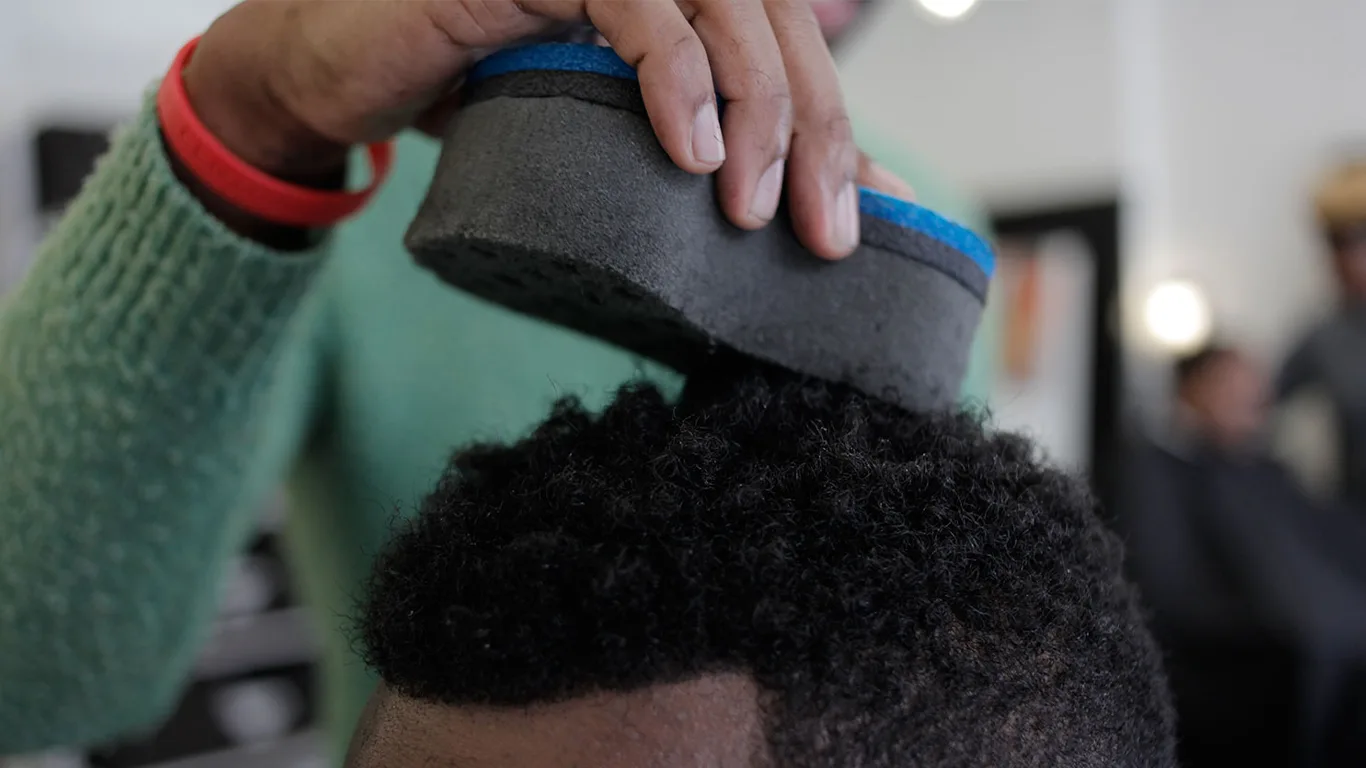
- Step 4: Twist and Rotate Take the curl sponge in your dominant hand and press it firmly against your damp hair. Using circular motions, twist and rotate the sponge throughout your hair, focusing on one section at a time. Be sure to apply consistent pressure to create uniform curls or coils.
- Step 5: Repeat Until Desired Results Continue twisting and rotating the sponge throughout your hair until you’ve achieved your desired curl pattern or coil size. If necessary, dampen your hair with water or apply more product to ensure the sponge glides smoothly through the hair and creates defined curls or coils.
- Step 6: Fluff and Style Once you’ve completed the styling process, use your fingers to gently fluff and separate the curls or coils for added volume and dimension. You can also use a pick or wide-tooth comb to lift the roots and create more volume at the crown.
- Step 7: Set with a Holding Spray or Serum (Optional) For long-lasting hold and shine, you can set your curls or coils with a holding spray or serum. Lightly mist or apply the product throughout your hair, focusing on the ends and any areas prone to frizz or flyaways.
Conclusion: With this step-by-step guide, you now have the knowledge and confidence to master the art of styling your natural hair with a curl sponge. Whether you’re rocking defined curls or tight coils, the curl sponge is a versatile tool that allows you to achieve your desired look with minimal effort and maximum impact. So grab your sponge, embrace your natural texture, and let your curls or coils shine!